制作血条与圆周进度
先登记完整 PNG,再在 Layout 中使用裁切、缓动和拖尾
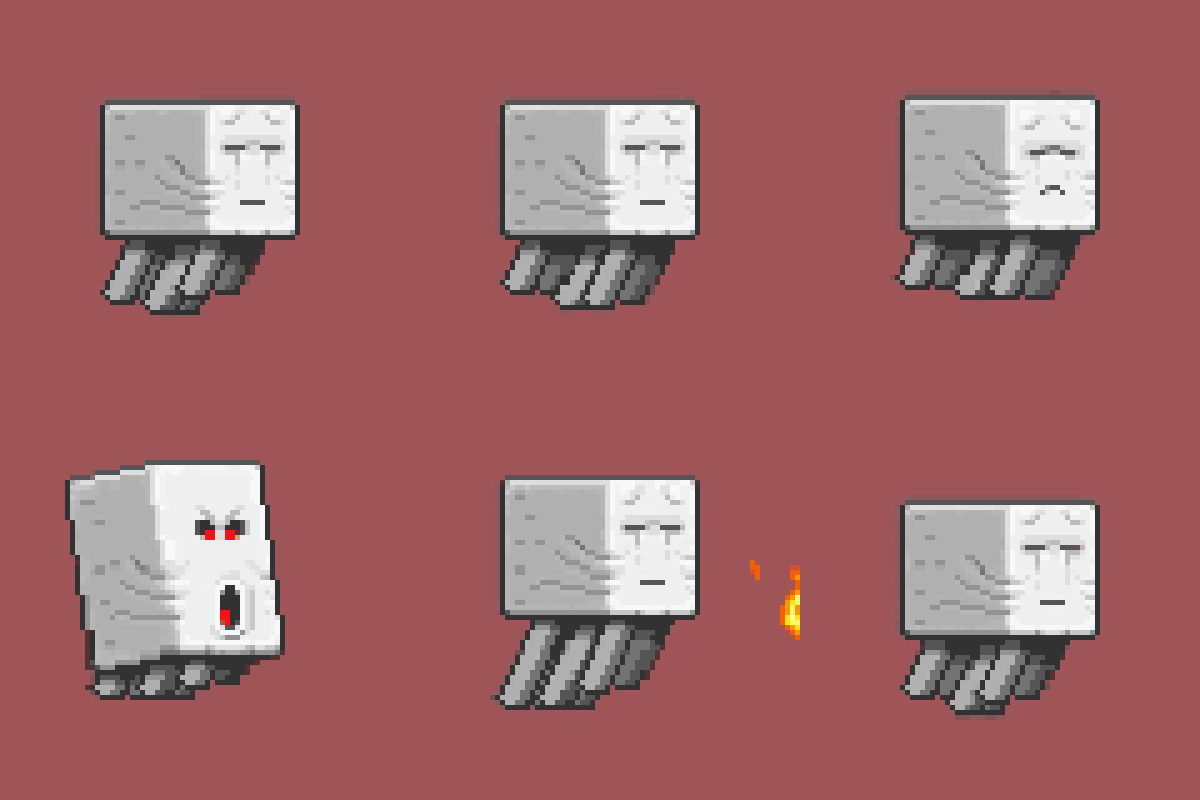
本页不需要给每个进度画一张图。先登记一张完整 PNG,再由 fill 生成裁切帧;下面提供所需图片下载,不依赖前面教程的字体。希望使用属性面板时,见可视化制作生命进度条。
文件结构
health_fill.png
health_empty.png
health_trail.png
health_ring.png
config.yml
tutorial_health.yml
tutorial_health.yml
下载并登记图片




img:
  full:
    path: health_fill
    height: 4
  empty:
    path: health_empty
    height: 4
  trail:
    path: health_trail
    height: 4
  ring:
    path: health_ring
    height: 32
创建横向血条 Layout
tutorial_health:
  bar:
    anchor:
      x: 50
      y: 50
    x: -74
    y: 0
    progress:
      namespace: tutorial
      basename: progress
      image:
        full: full
        empty: empty
      fill:
        direction: left-to-right
        steps: auto
      variables:
        total: "player max health"
        current: "player health"
      refresh: 5
      transition:
        duration: 6
        easing: ease-out
      trail:
        image: trail
        delay: 8
        duration: 12
        easing: ease-out
绑定并测试
tutorial_health_hud:
  layouts:
    tutorial_health: {}
关闭其它中央练习 HUD 后,执行 /xerr pack 并加载。受伤时主条下降,拖尾延迟追赶;回血时主条恢复。
改成其它方向
bottom-to-top 从下向上裁切,top-to-bottom 从上向下裁切。
先准备适合纵向外观的完整 PNG,再换图片引用与 fill.direction。只对横向细血条换方向,虽然能裁切,但不会自动把它旋转成竖条。
全部字段和资源限制见进度参考。